Before you start the setup process, it’s important to get the SSID, password, and other settings correct. You should also update the firmware. Here are some of the steps you’ll need to follow: – Turn on the WiFi Extender and press the WPS button to enable it. The LED on the extender will turn solid after about two minutes. – Connect your devices to the network. Use the password that was configured on your parent router.
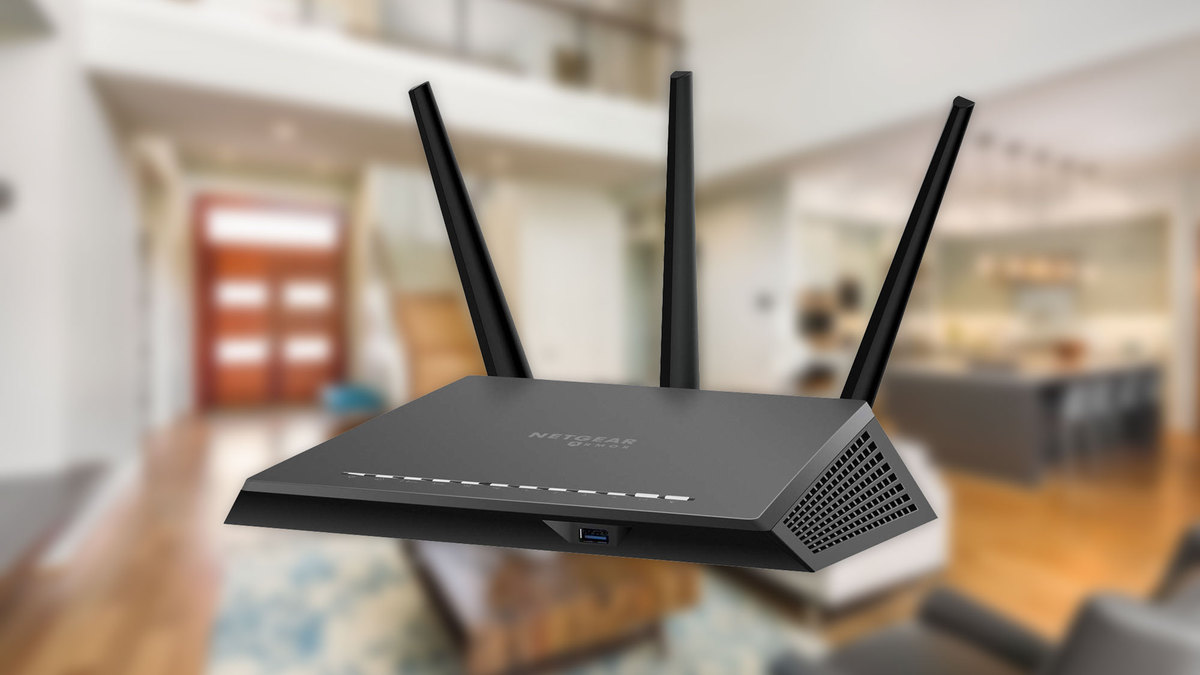
Netgear WiFi Extender Setup
To get started, you will need to connect your Netgear WiFi Extender to your router using an Ethernet cable. Once the cable is plugged in, go to the Netgear Smart Genie setup page and enter the default login information for the EX6100. Once you have entered these credentials, you will see an admin panel that allows you to customize the settings of your WiFi extender. Follow the on-screen instructions to complete the setup process. Once the setup process is complete, you can place your new extender in a new location and test your connection.
The next step is to choose the SSID and password for the extender. You can choose to use either 2.4GHz or 5GHz if you want to make sure your extender is connected to the internet.
SSID
The first step in setting up a Netgear WiFi extender is to choose an SSID. SSIDs are the name and password of your WiFi network. You can choose either a 2.4GHz or a 5GHz SSID. You can also use the same password that you use for your router. After deciding on an SSID, you must connect your client devices to the new wireless network.
Next, you need to power on the Netgear EX6100 extender. Before you proceed, make sure the power outlet is in working condition and has a suitable voltage. You should also check if the extender’s LED is glowing green or not. If it is not, then it’s time to upgrade the firmware.
You can also configure the SSID on the Netgear WiFi extender by visiting its web interface. After logging in, click on the Network menu and then on the Settings tab. From there, you can adjust the 5GHz band, the 149-161 channel, or the 36-48 channel. After that, enter the SSID and Password field and press OK.
Password
If you are having trouble logging into your Netgear WiFi Extender, you need to know the correct password for this router. If you are not sure of the correct password, you can always contact the professionals at Netgear. After you know the correct password for this router, you can proceed with the setup of your device.
The default username for your Netgear extender is admin. However, you can customize the name of your network for 2.4GHz and 5GHz bands. You can also customize the password for your network. Before you proceed, make sure that the power LED on your extender is on.
To change the password for your Netgear WiFi Extender, you must connect your device to the extender’s network. To do so, open a web browser. It is recommended to use two browsers, just in case you experience any difficulties.
Firmware update
If you’ve ever wondered how to perform a firmware update on your Netgear WiFi Extender, you’re not alone. Many people have trouble with this type of device, and a firmware update can fix a lot of common issues. To update the firmware on your Extender, simply visit the manufacturer’s website and follow the instructions.
The first step in updating the firmware on your Netgear ex6100 Setup is to access the device’s settings menu. Look for the “Firmware Upgrade” option. If it’s available, click “Yes” to install the update. Then, wait for the update to complete. If you experience any problems, contact a Netgear expert for assistance.
The next step in updating the firmware on your Netgear WiFi Extender is to access your computer’s network configuration. To do this, open the Network Administration window and click the Firmware Update button. This feature should be enabled by default, but you can turn it off if you want to disable it. After that, your Netgear WiFi Extender should automatically update itself when new firmware is available.